Surface deposition: Bouncing C₆₀
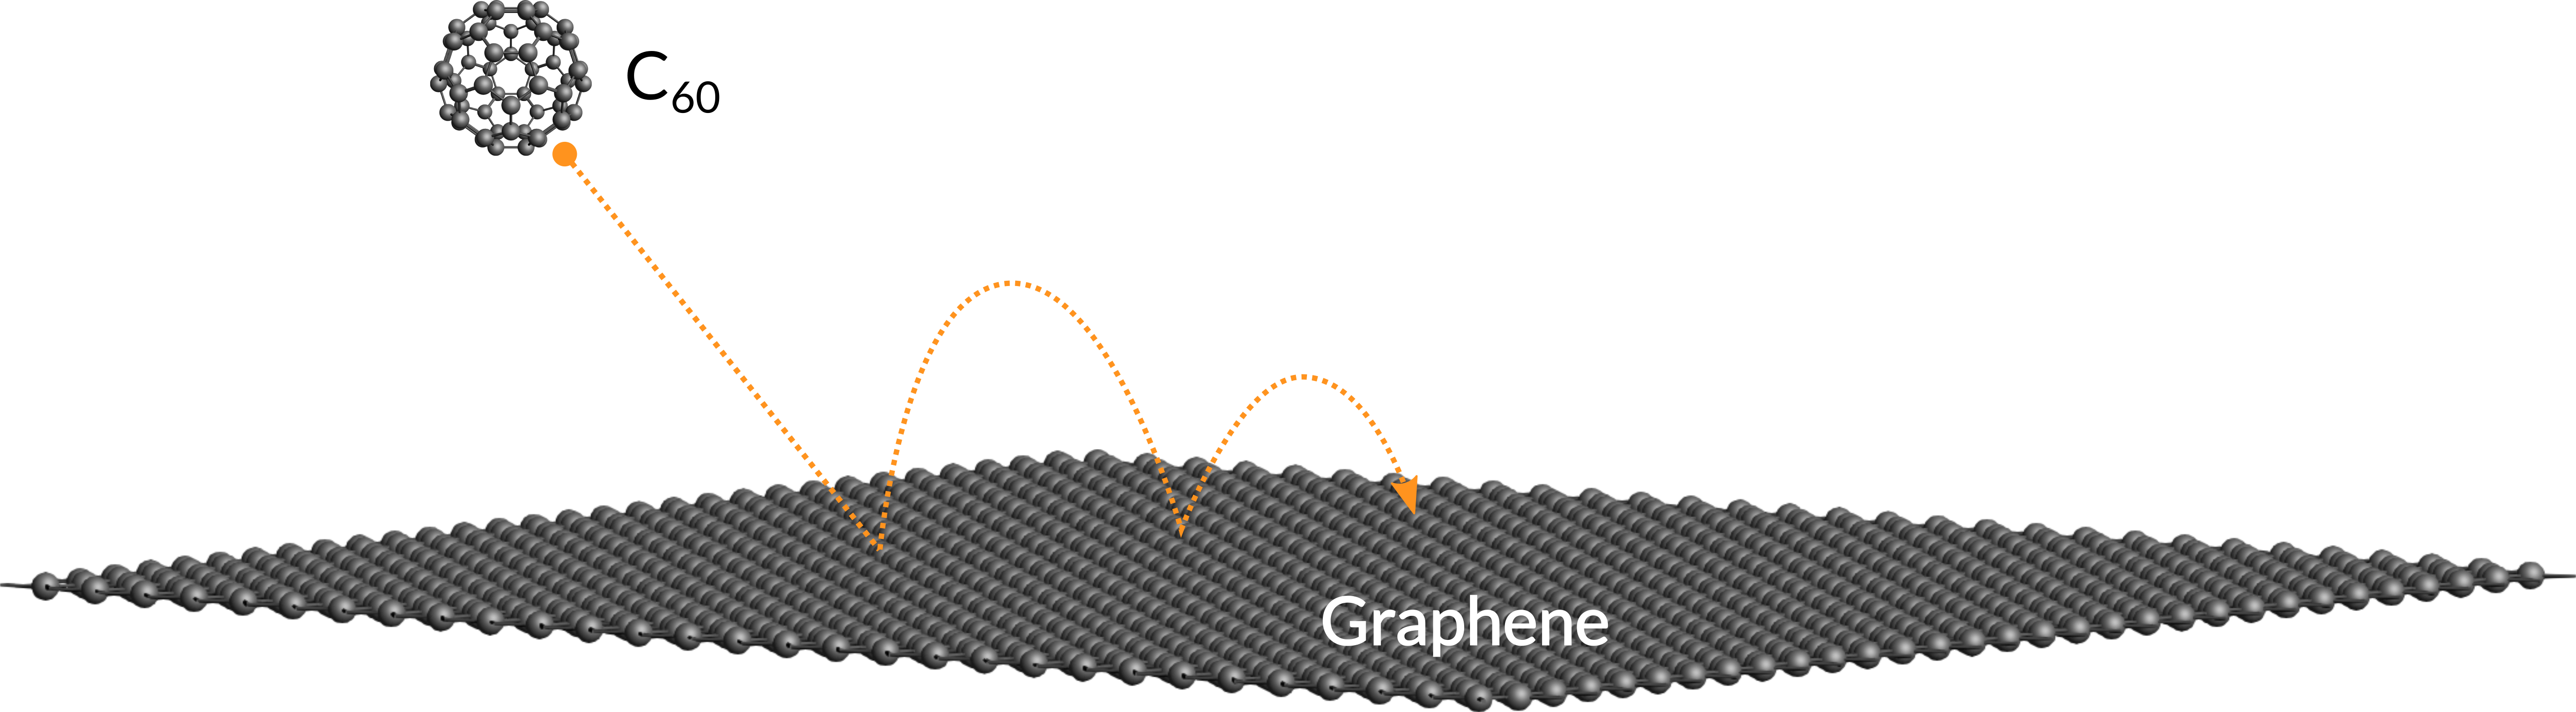
In this tutorial we will be modeling the impact of a C60 buckyball on a graphene sheet:
For the purpose of this tutorial we are going to use the ReaxFF engine, as it is very fast. However, one can also follow this tutorial using for example the DFTB engine.
Setting up the geometry
Let us begin by creating a graphene sheet.
 →
→ 

graphite and select C128: Graphite from the crystal compounds.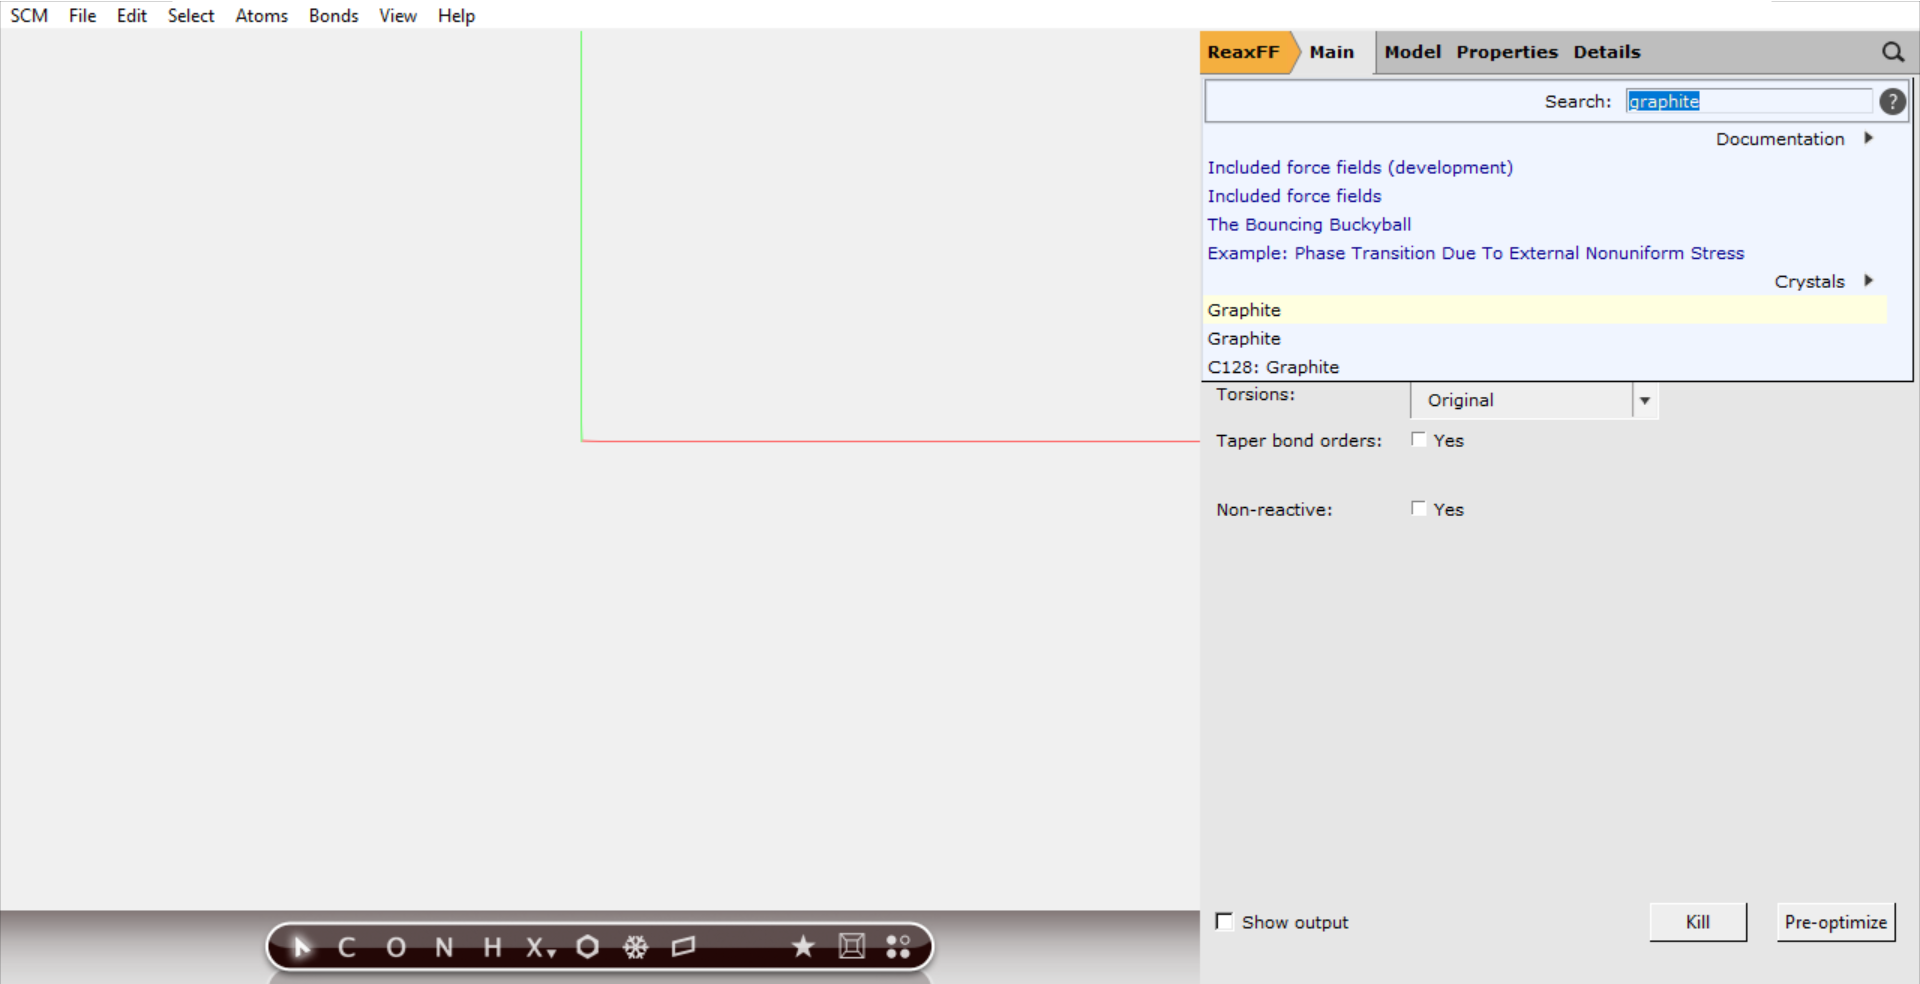
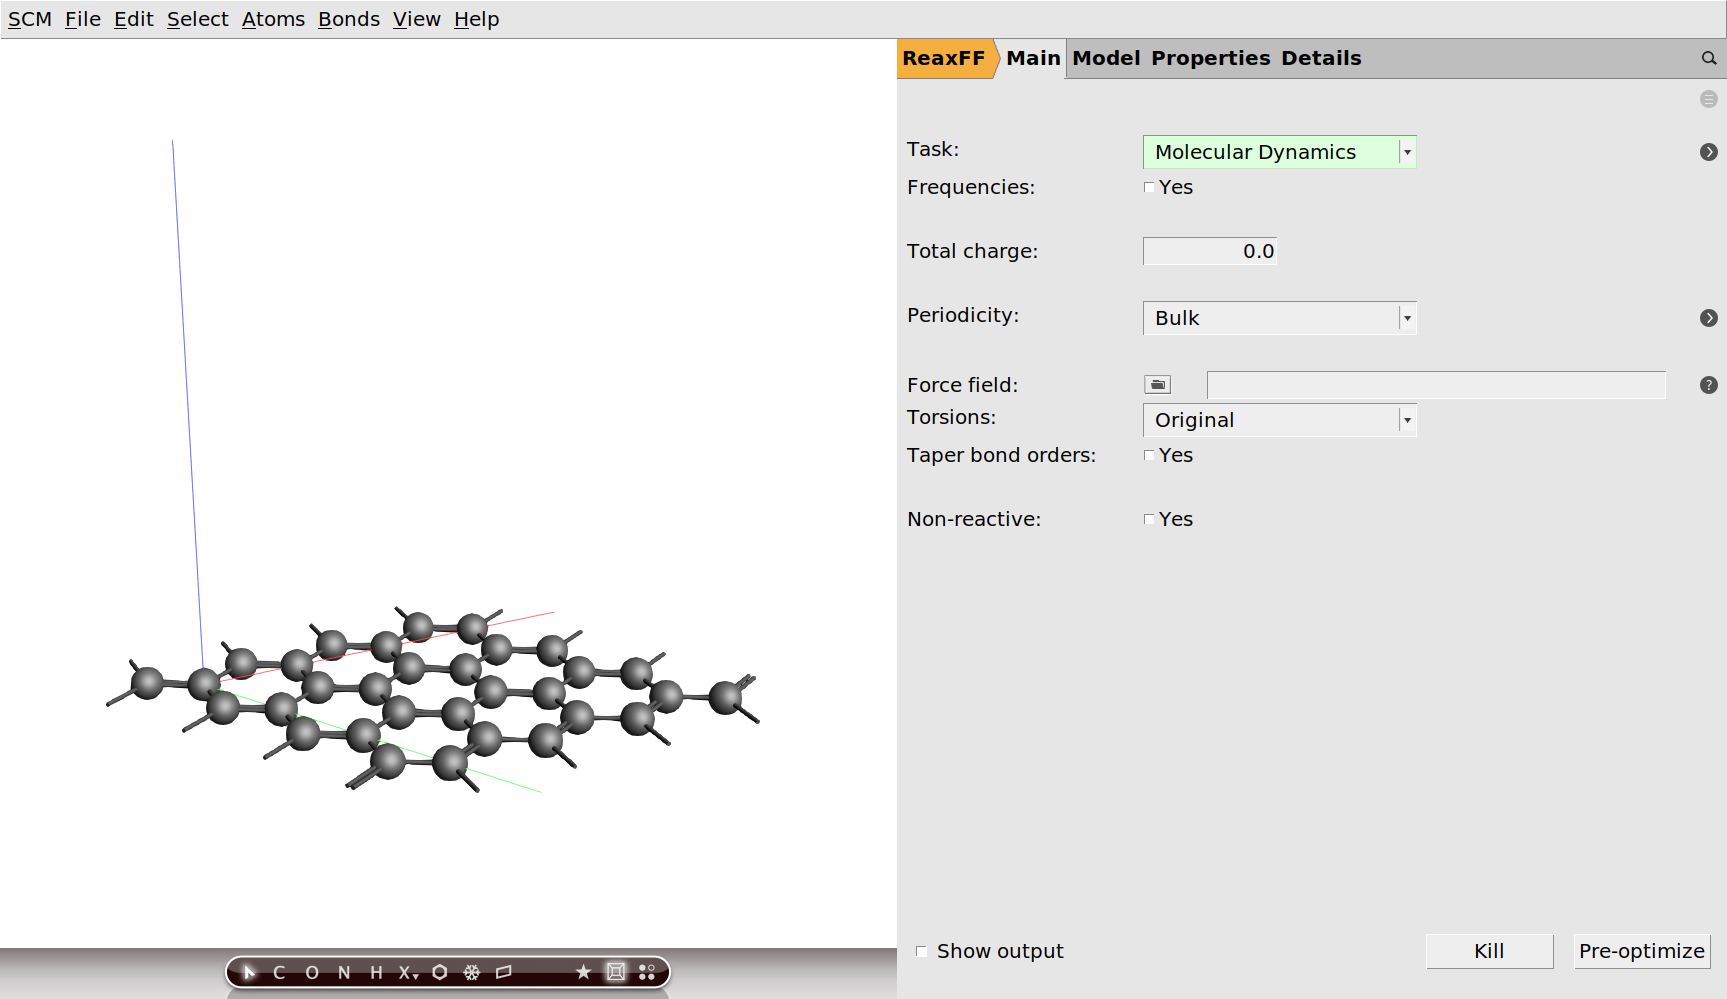
The graphite cell shown in the viewport on the left consists of four graphene layers. For our example we need a single layer, so let us delete the others.
In the image above we kept the graphene layer in the xy-plane and deleted the other three. At the moment we still have periodicity along the z-axis. We only really a single graphene sheet, so let us just get rid of this third lattice vector:
We now have a single layer of graphene with an infinite vacuum below and above. Our graphene sheet is still rather small though: Too small to shoot something large like a buckyball at it! Let us make it larger using the super cell tool.
6, 6 on the diagonal.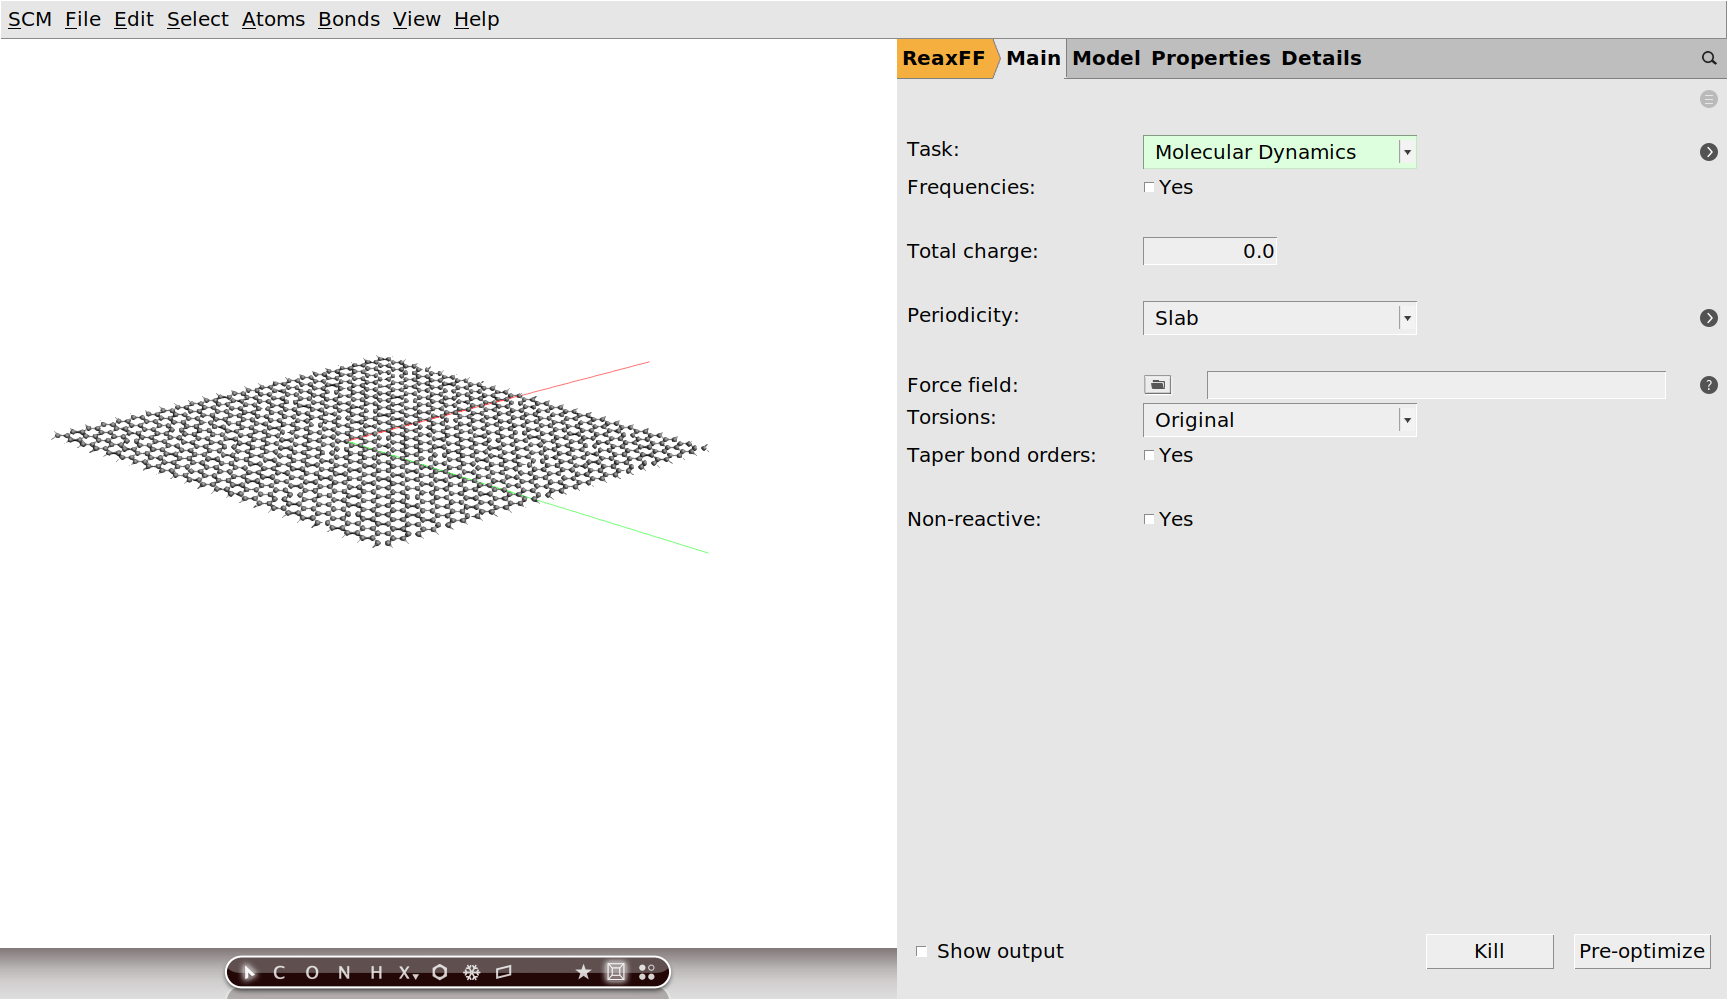
Now that we have a reasonably sized graphene sheet we can insert the buckyball.
buckyball into the search field and select C60: Buckyball (ADF).
The inserted buckyball should automatically be selected. However, it is currently sitting at the origin of the cell inside of the graphene sheet. We are going to have to move it out of there.
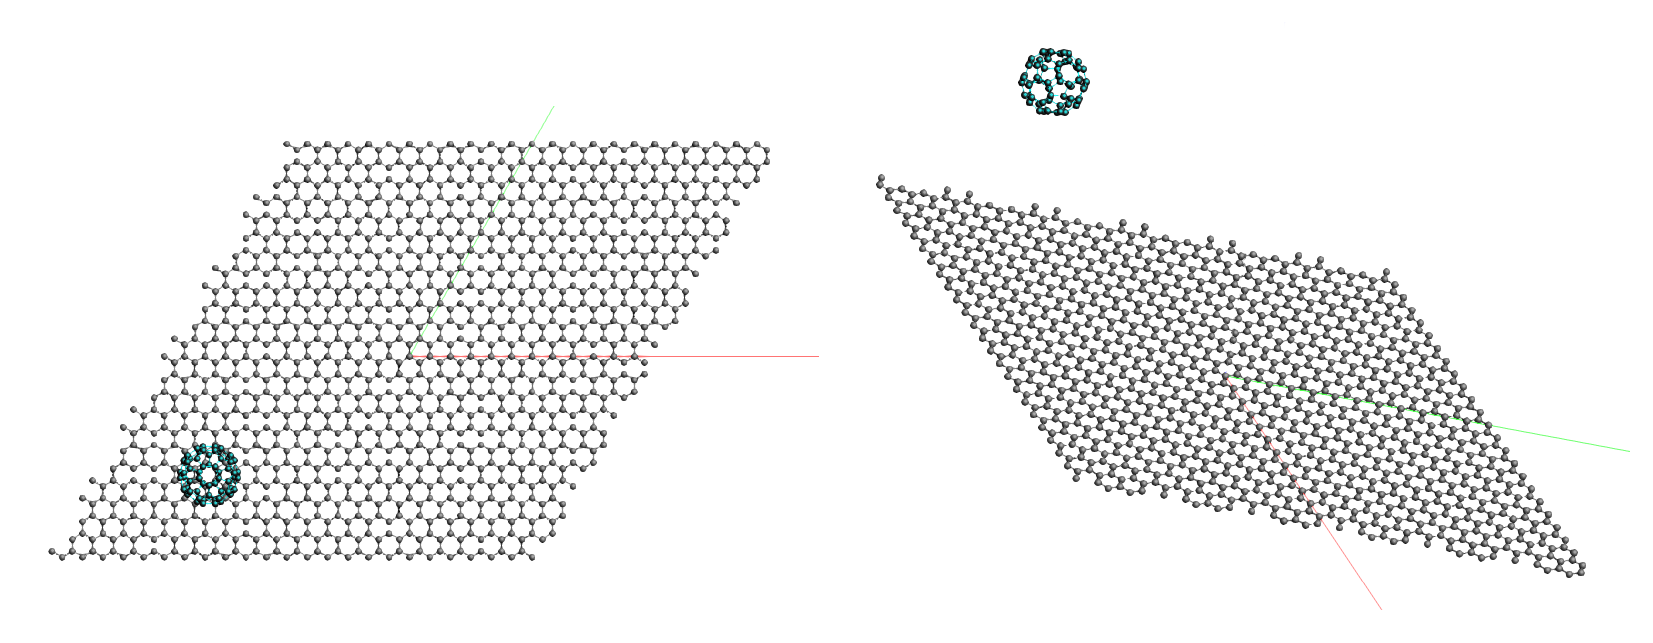
The buckyball should now be in a nice place from which we can shoot it at the center of the graphene sheet. It is time to aim the gun …
Setting up the molecule gun
The molecule gun in AMS uses regions to identify which part of the geometry is the projectile and which is the target. Let’s make sure we have the buckyball (our projectile) in a separate region.
Region_1 to Buckyball1 by typing in the corresponding text box on the Regions panel.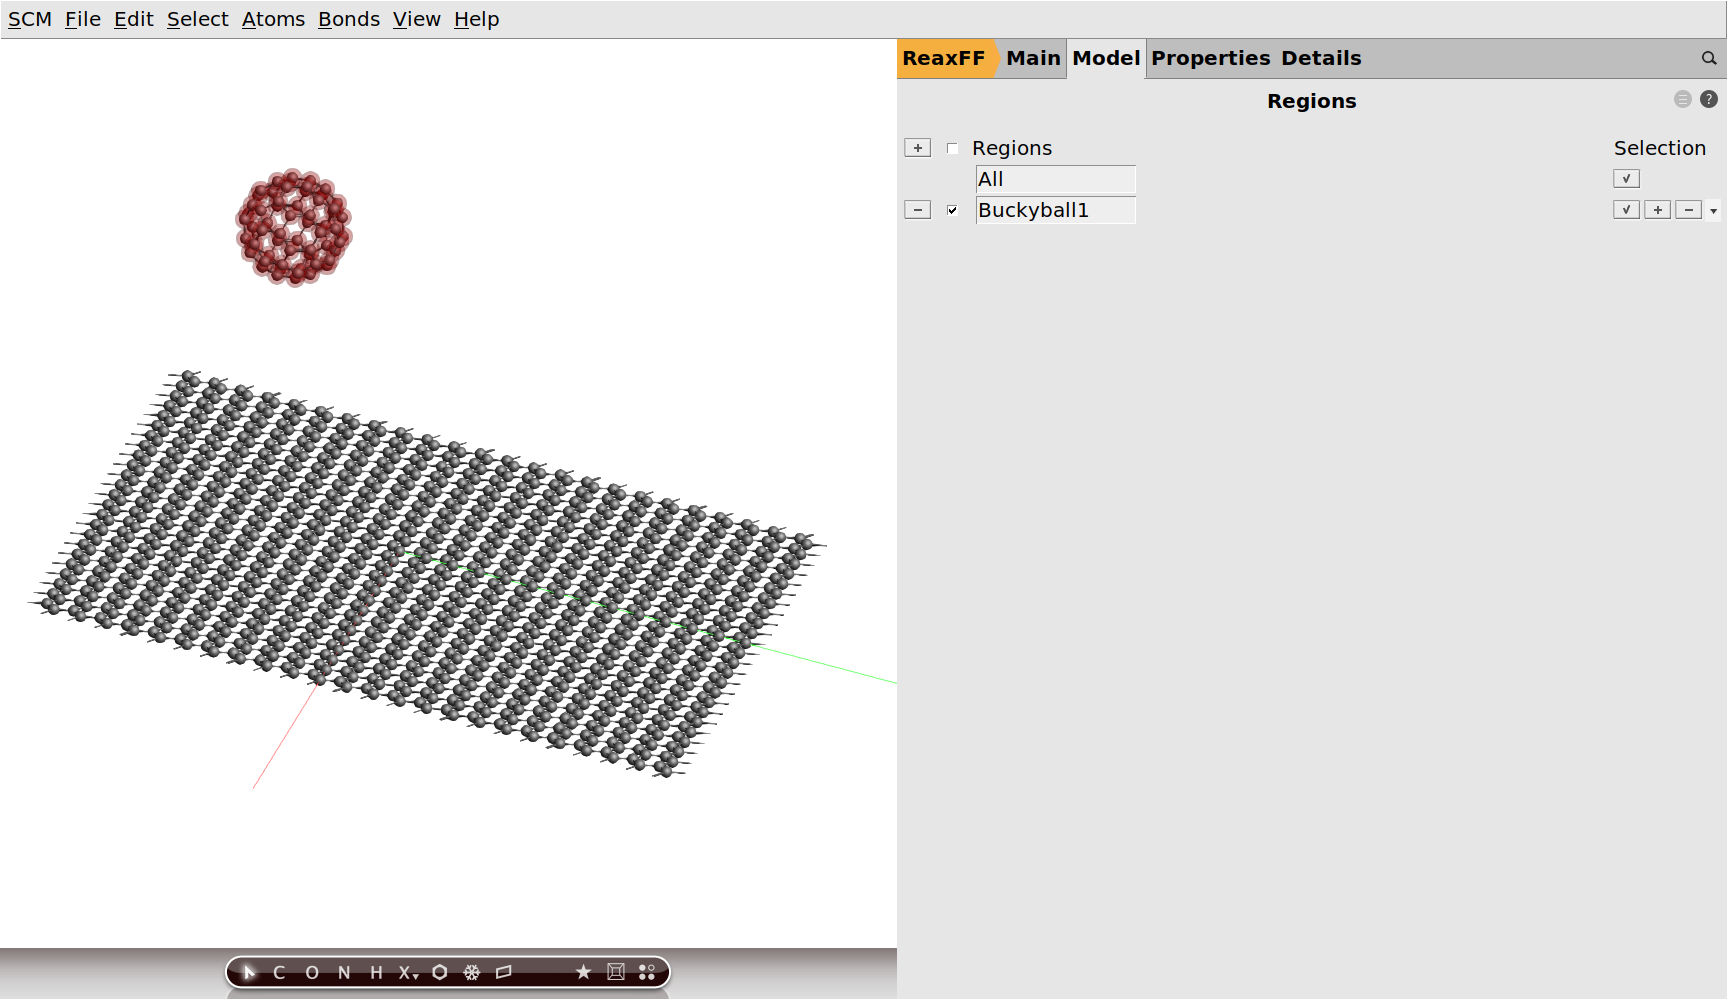
Next we need to set up some general aspects of our MD simulation.
C.ff as the Force field. to the right.
8000.50.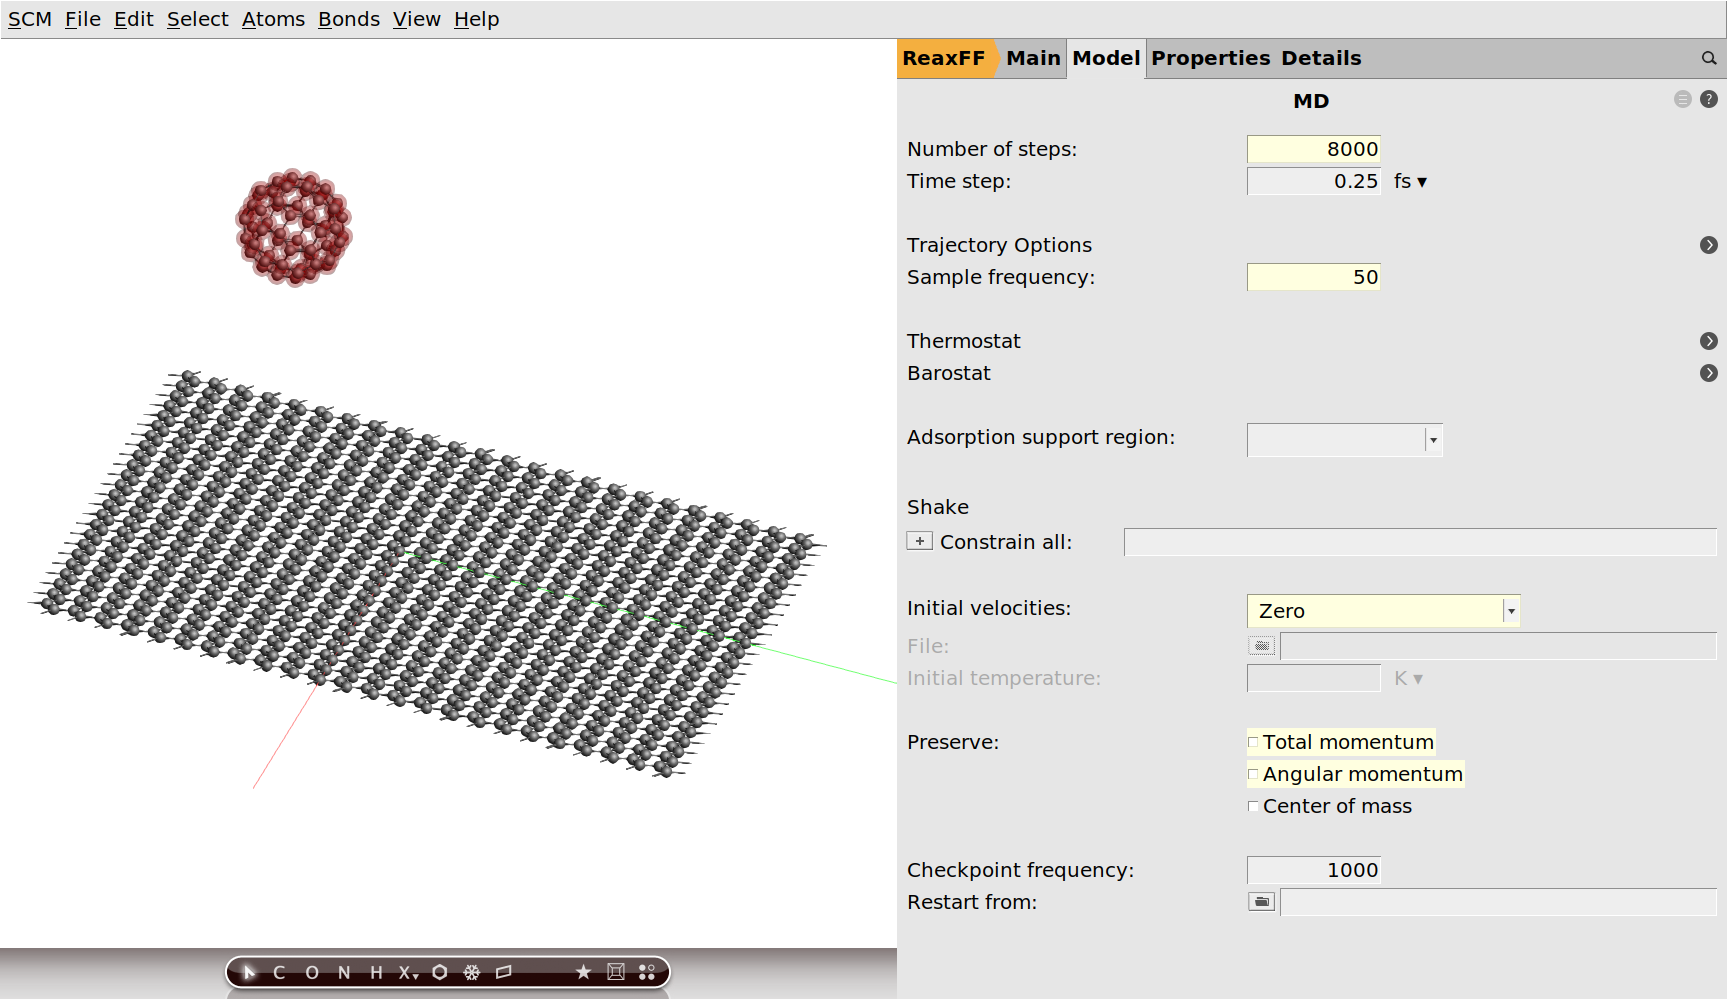
This should give us a sufficiently long and smooth trajectory of the impact. Note that we have disabled the preservation of the momenta. Otherwise the preservation will make the graphene layer drift towards the incoming buckyball in an attempt to remove the system’s total momentum, which is not what we want. We just want the graphene layer to remain stationary until the buckyball hits.
Finally, we need to configure the molecule gun!
Buckyball1 from the System drop-down menu.As you can see, the molecule gun panel looks relatively complicated. This is because it supports not only single shots, but also a regular shooting from randomized positions in random directions. It could, for example, be used to let many molecules rain down on a surface. Together with the molecule removal features, this can be used to set up quite involved simulations.
See also
See the molecule gun section in the AMS driver manual for a complete overview of the supported options.
In this tutorial we are going to keep things simple and only shoot a single buckyball at the beginning of the simulation.
1.1.1.The last thing we need to specify is the direction and velocity of our shot. AMSinput uses the vector from one atom to another to define the shooting direction of the molecule gun. This is very convenient for us, since we can just use an atom of the buckyball and an atom of the sheet to define the direction.
0.05 Å/fs.
Warning
The order in which the atoms are selected determines the direction of the shot! If you select them in the opposite order before clicking the + button, you will shoot in the opposite direction!
Note
The distance between the atoms defining the direction will not affect the starting velocity. Their sole purpose is the definition of a direction.
Tip
If your system does not already contain atoms you can conveniently use to define a shooting direction, you can always insert dummy atoms (Xx in the periodic table tool) in convenient locations (or use centroids). These are not real atoms and will not be included in your simulation. They are just used for the setup of your calculation in AMSinput.
This concludes the setup of the calculation.
Visualizing the impact
We are now ready to shoot! Let us run the calculation.
The AMSjobs window will come to the front as the calculation starts running. As ReaxFF is a very fast engine and the system not particularly big, it should only take a couple of minutes. We can already visualize our calculation while it is still running.
You can download the movie here if it does not play in your browser.
The saved movie was made using the File → Save Movie… command. If you want to use it you will have to install ffmpeg first.
Your initial velocity was probably not large enough to make the buckyball penetrate the graphene sheet. You will likely get a trajectory very similar to the one above. Note how the shock wave in the graphene starts interfering with itself as it travels across the periodic boundary conditions. Feel free to go back to AMSinput and increase the initial velocity of the buckyball. Doubling the velocity might already be enough to punch a hole into the graphene …
This concludes the tutorial on the molecule gun in AMS.