Building Crystals and Slabs
In this tutorial we demonstrate the working of several tools that combined give you great flexibility to build periodic structures.
If you are not interested in periodic structures (for example, if you only use ADF), you can skip this tutorial.
The instruments at your disposal are:
The crystal structures tool
 .
.The predefined crystal structures in the database (via the search field).
CIF file importer.
Crystal builder from space group information.
Super cell tool to enlarge the unit cell.
Slice tool to cut out slabs from any crystal.
To use these tools you need to use AMSinput in periodic mode. For example, by switching to the BAND mode, or by switching to DFTB or Mopac and next changing the periodicity.
See also
More information about modeling crystals and slabs in AMS: see the Crystals and Surfaces tutorial.
The Crystal Structures Tool
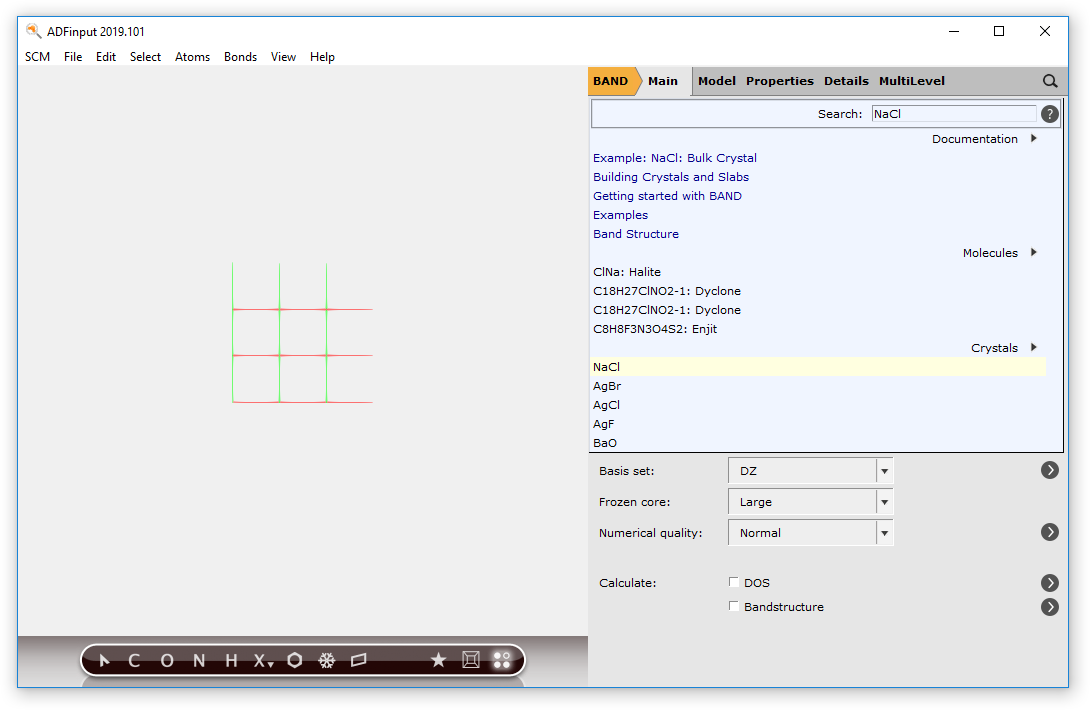
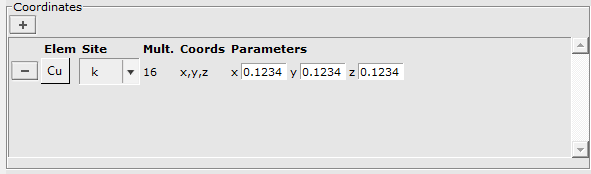
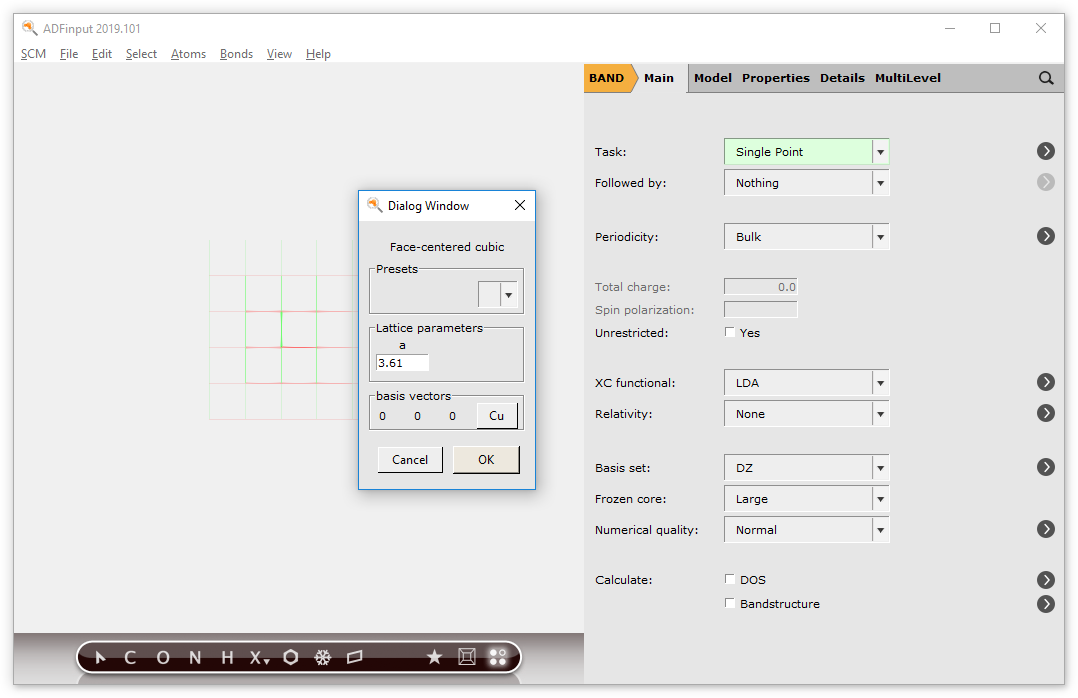
If you are lucky your crystal structure is already included in AMSinput. Most of the common structures are there. NaCl is one of them.
on the toolbar.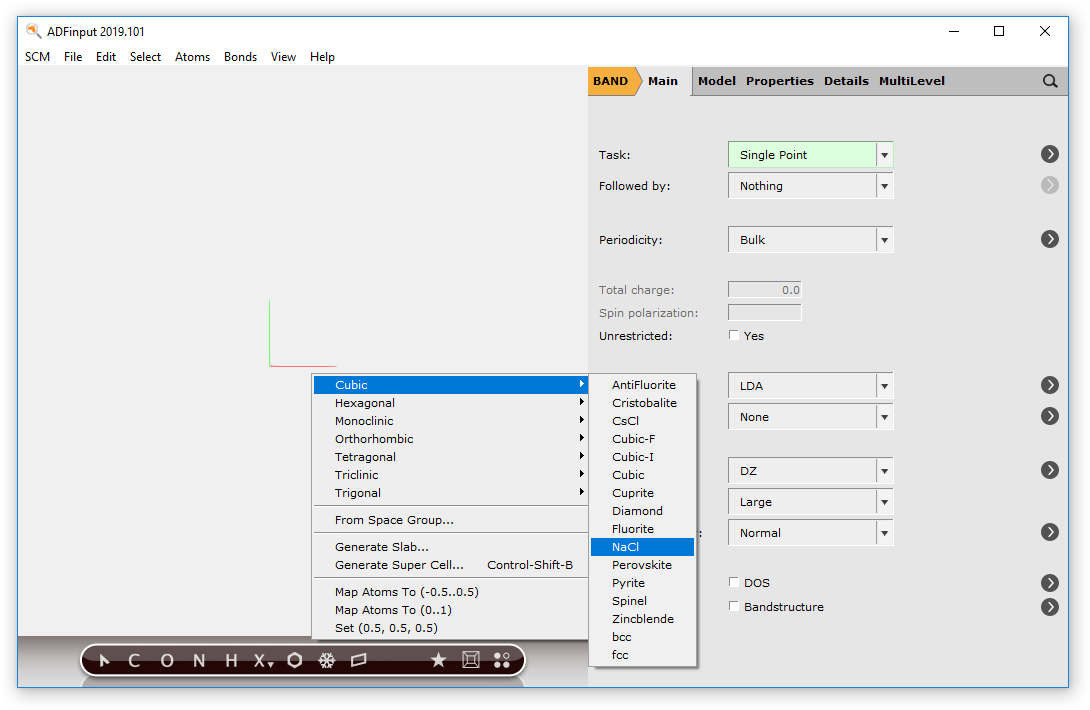
Next a dialog pops up where you can change the parameters of the structure, such as lattice constants
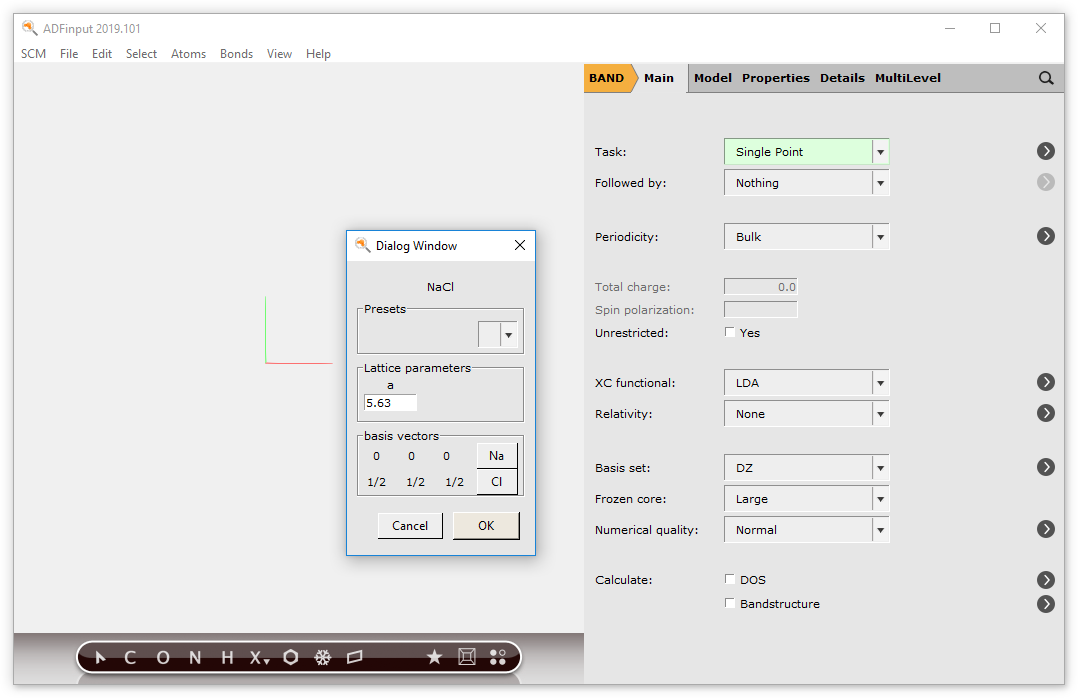
In this case there is no need to change anything. When asked to map atoms to unit cell, click Yes.
You can adjust the details like lattice constants by hand. For example LiF: it has the same crystal structure as NaCl, but other elements and a different lattice constant, namely 4.02:
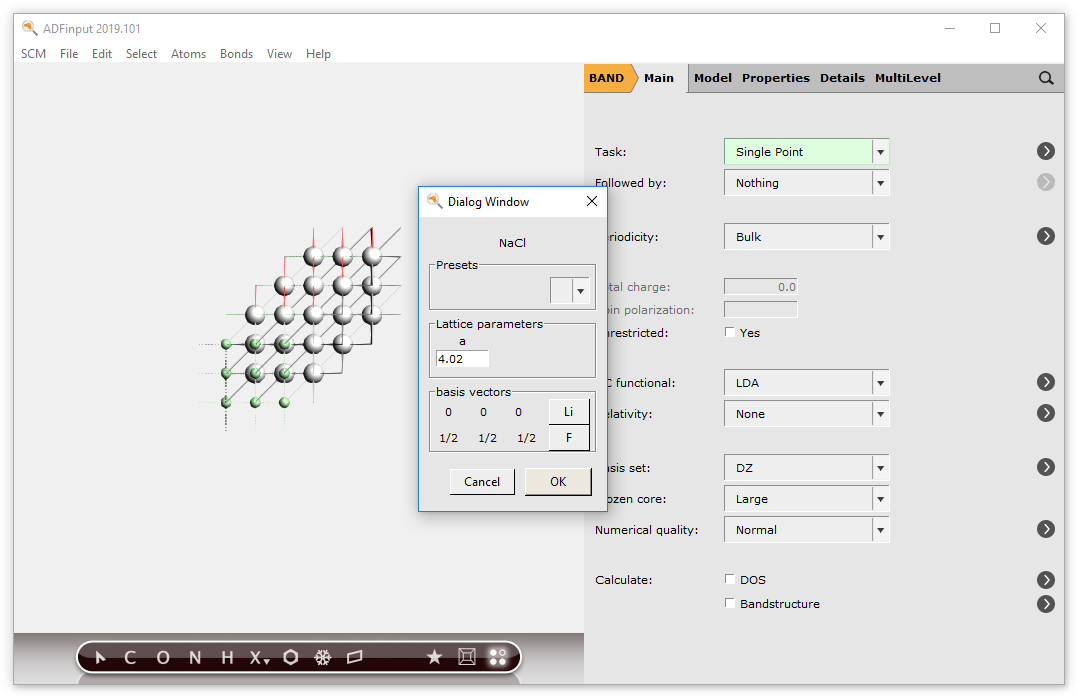
The NaCl crystal structure will be replaced by the new LiF crystal structure.
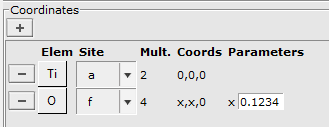
Some crystal structures have more parameters.
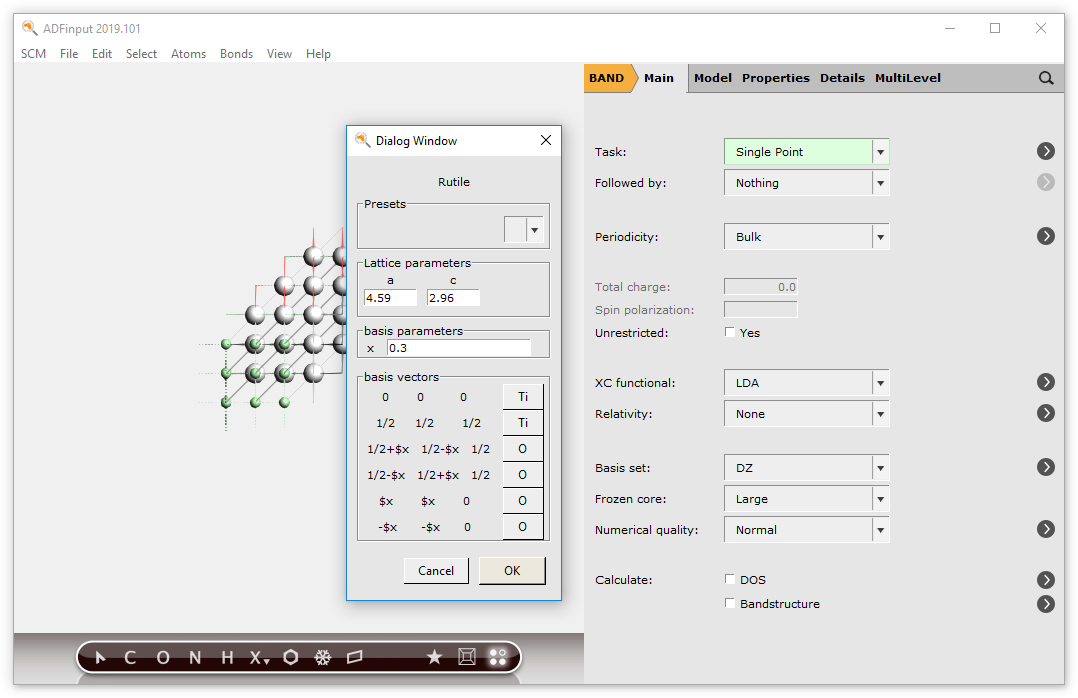
As you can see, it has two lattice parameters that need to be specified. But now also the positions of the oxygens have a parameter “x”
After clicking ‘Ok’ your screen will look like this

The Crystal Structures Database
All crystal structures known to the crystal structures tool are also available via the search tool.
Just as you can search for a molecule, you can search for a crystal. So lets make NaCl again:
You should get a couple of matches:
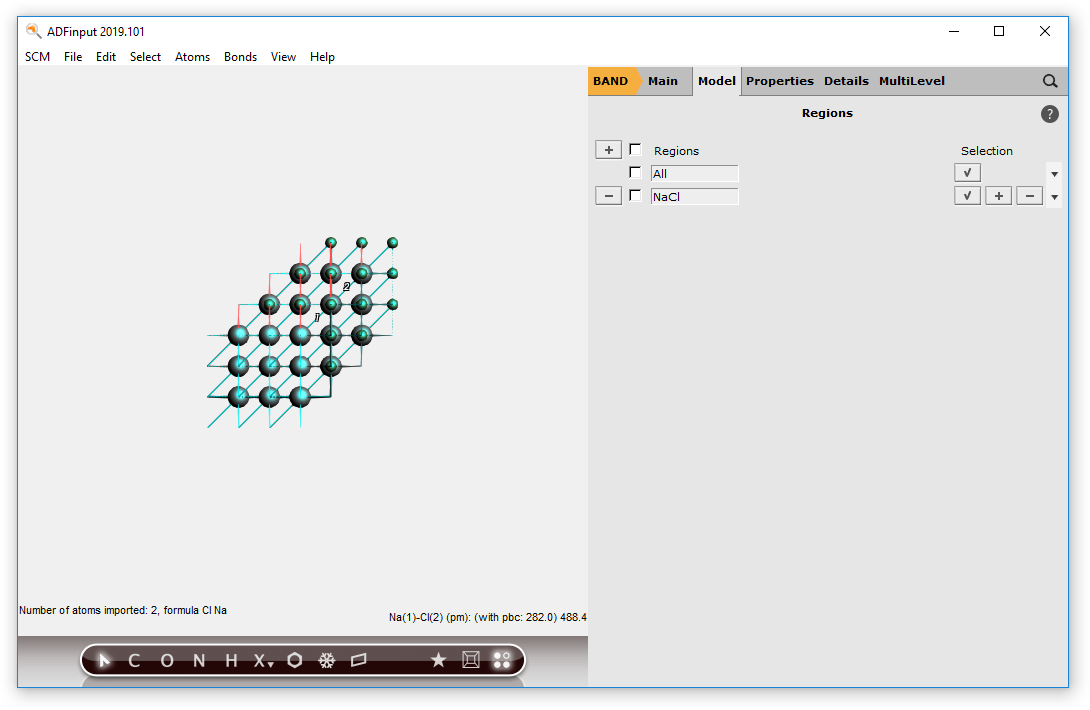
Select the NaCl crystal result (not the molecule!):
You now should have a NaCl crystal again.
Currently the structures of many simple crystals are included, as well as a few complex structure (optimized by MOPAC). The zeolite frameworks are also included as a starting point to make your zeolite structure.
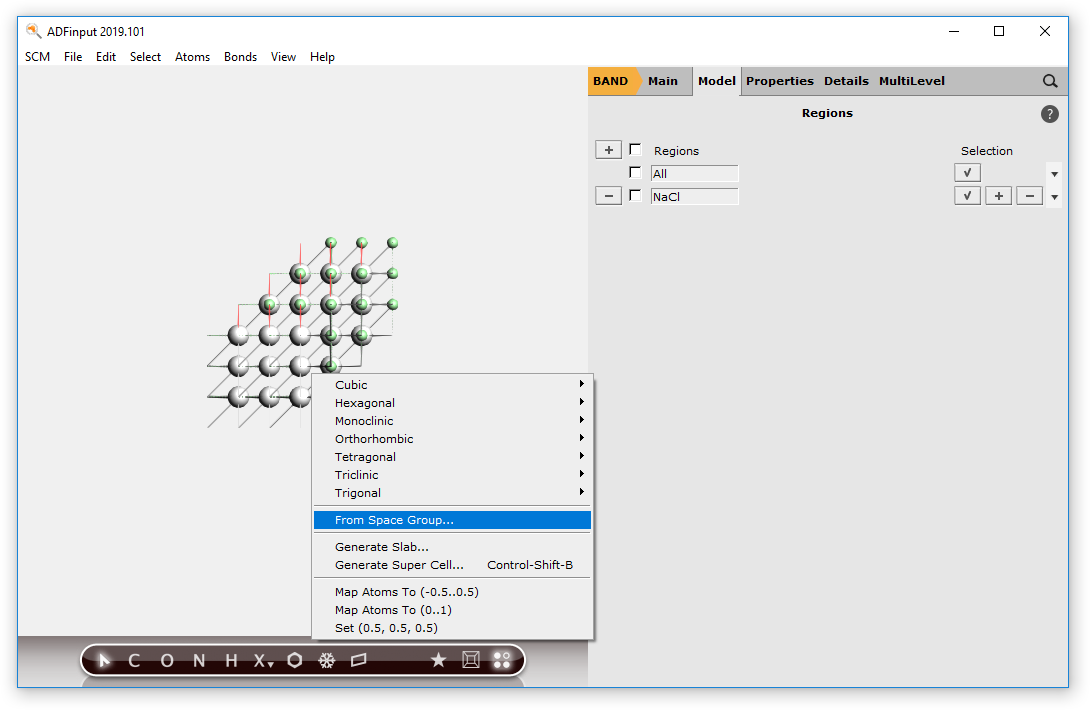
Crystal builder (from space group information)
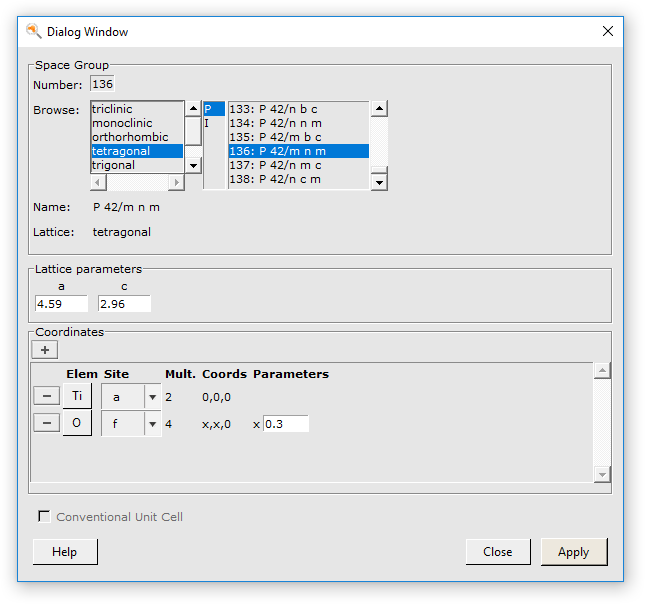
The structure database is very convenient but by necessity incomplete. A more powerful approach is to build 3D crystals from the space group information. Here we give an example on how to build TiO2 (Rutile) again, now from its space group.
And the following window pops up
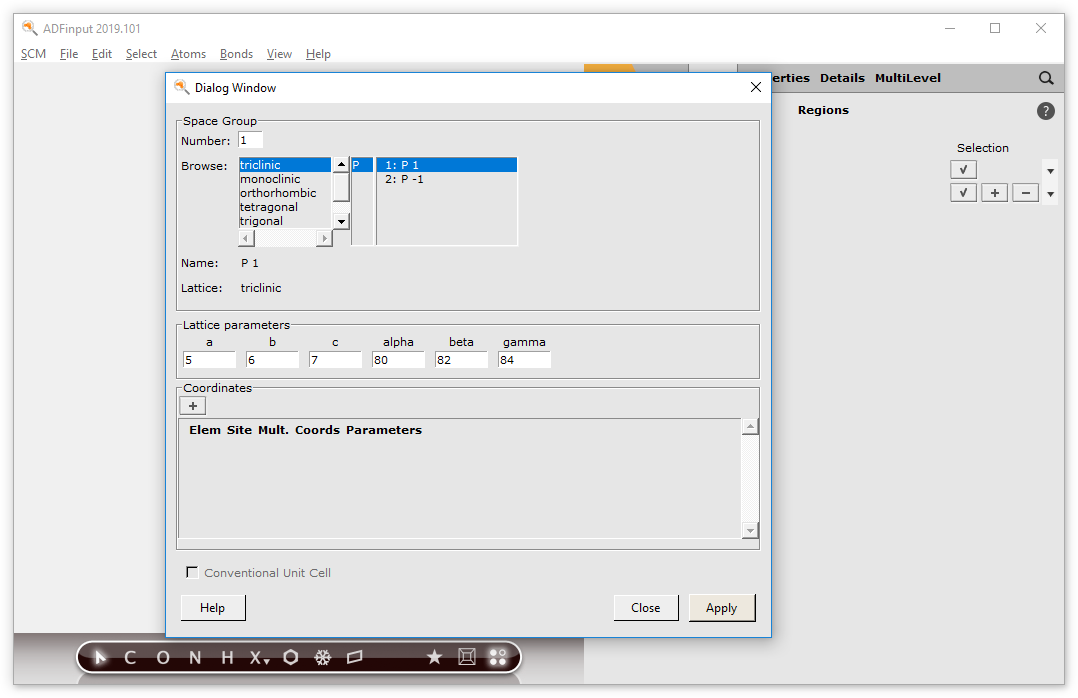
Rutile has the symmetry of space group 136

Note how the Browser reflects the change and also how the “Name” and “Lattice” values change
Now set the two lattice parameters as below

We still need to define the atomic coordinates. For starters click on the plus below “Coordinates”
In a book on crystal structures you can find that Rutile has two sites occupied. The Ti atom is on the “a” site

The oxygens occupy the “f” site.
As you can see in the “Coords” column and the “Parameters” column, this site has an undetermined parameter “x”. (It represents a symmetry line for this space group.) In the book you can find that for TiO2 “x=0.3”.
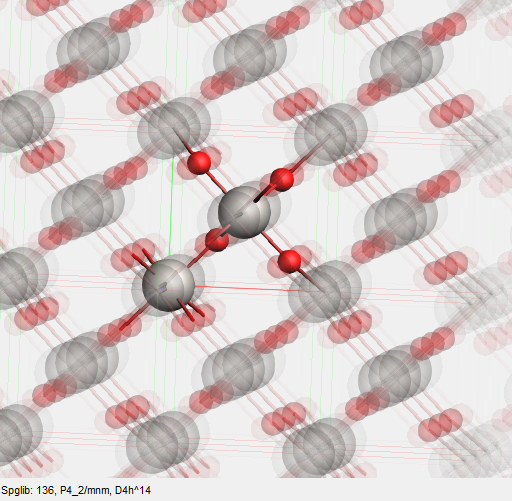
The final dialog looks like
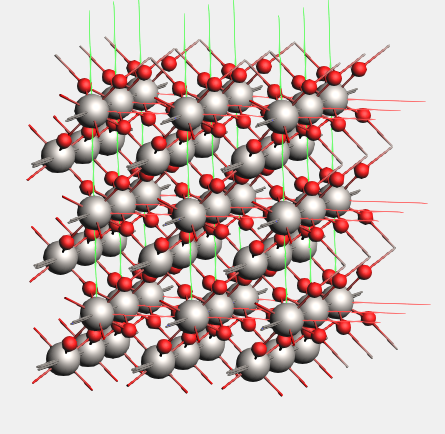
In the toolbar there is another tool that may be of use: the star button. Just like for molecules this button will try to detect the symmetry of your system and make small changes to adjust to perfect symmetry. It does this via spglib, see the help balloon for details.
You already had perfect symmetry, so nothing much changes. The detected symmetry should be reported:
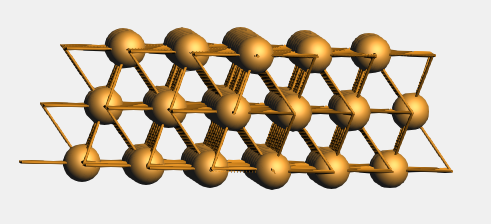
You can view a larger part of the crystal and still see the unit cell clearly:
This will give you a view like this:
Slicer: building slabs, transform primitive to conventional cell
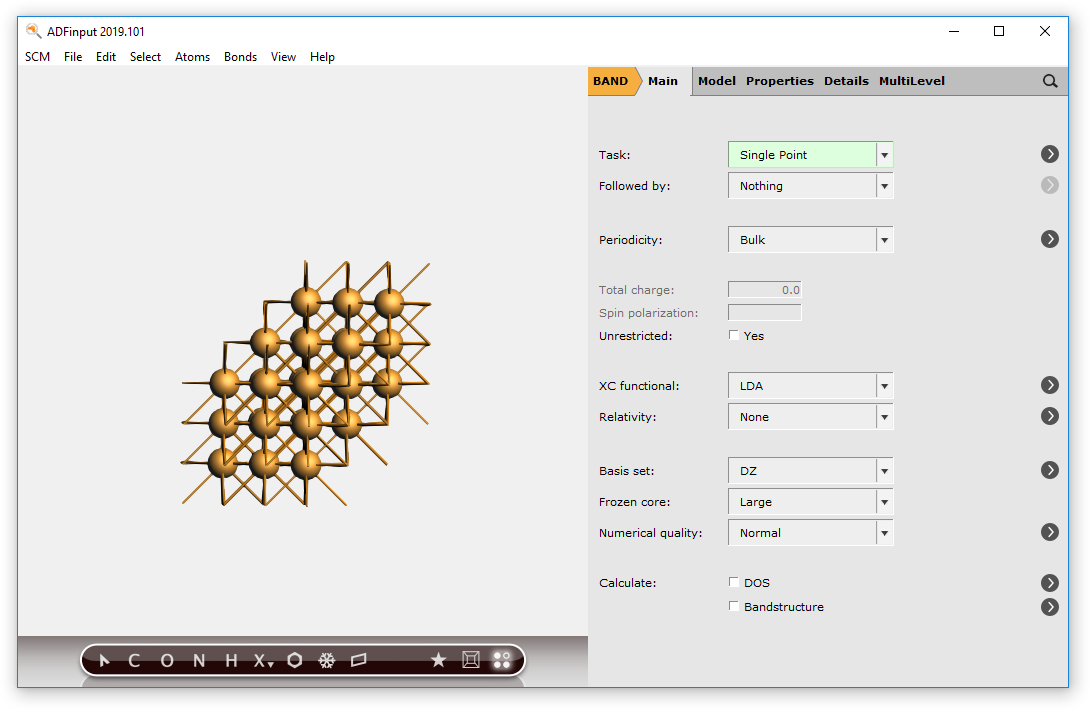
The slicer is a very easy, yet powerful tool to make slabs from any crystal structure. In this example we build a three layer slab of the Cu(111) surface.
The element and lattice constant are already correct for Cu.
Let us invoke the slicer tool to cut out the slab.
 slice tool, or select → Generate Slab.
The right side of the AMSinput window will show the Generate Slab options.
If you hold your mouse over the Miller indices fields, you should get a balloon that explains how to set the proper Miller indices. In this particular example we have the primitive unit cell of Cu, so first we need to convert to conventional unit cell.
1, 1, 1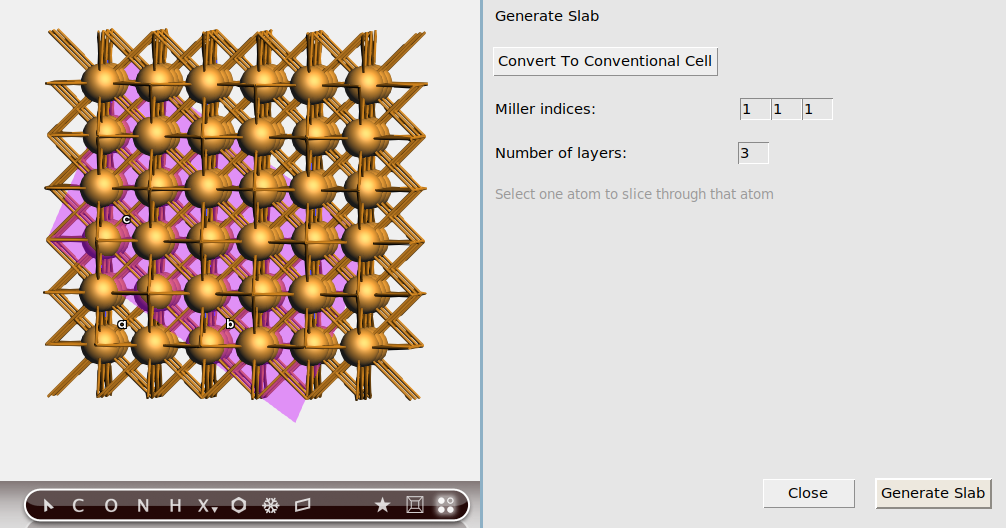
You will see (from the top), if the  periodic view tool is activated,
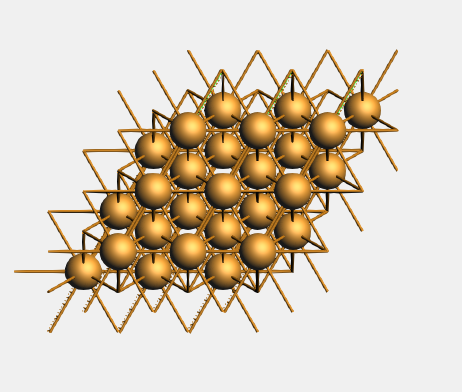
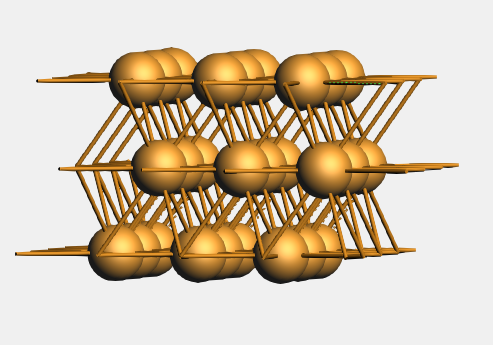
You may want to rotate it or select View → View Direction → Along X-axis to convince yourself that it is a three layer slab.
See also
More about primitive and conventional cells, and Surface unit cells and supercells.
Creating a supercell
Quite often you want to use a larger unit cell. You can do this for chains, slabs, and crystals, but we will demonstrate how it works for a slab.
We will continue to work with the 3-layer Cu slab:
Thus invoking the Super Cell Tool
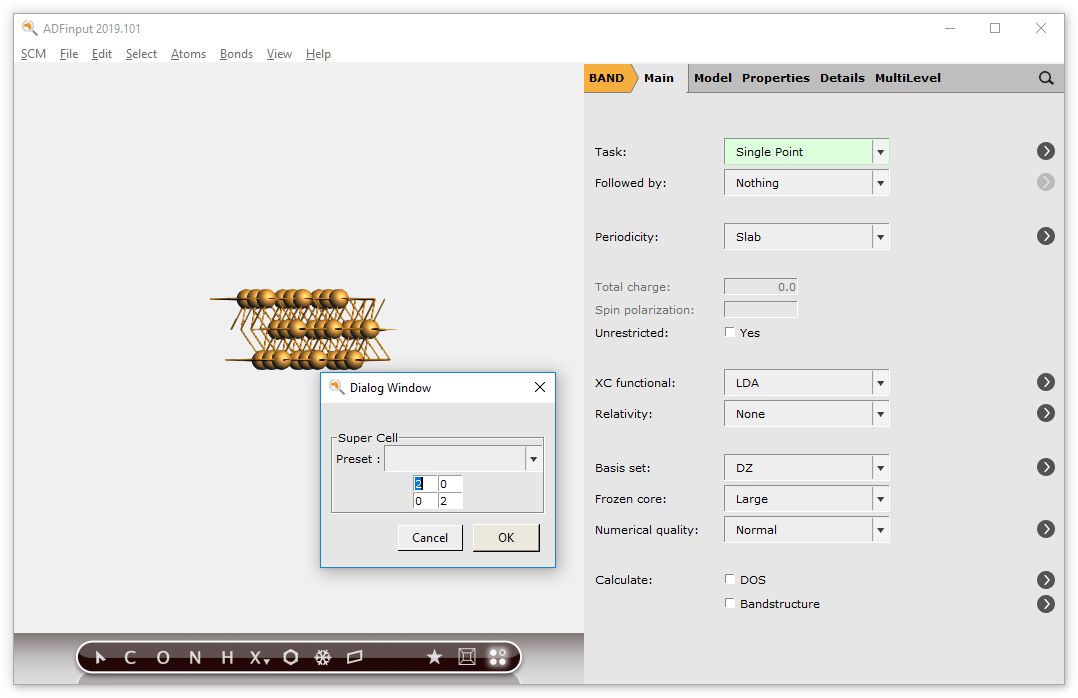
Here you see how new lattice vectors are expressed in terms of old ones. Because we have a slab this is a 2x2 matrix.
and you get a bigger unit cell with three atoms per layer:
See also