Periodic Energy Decomposition Analysis - PEDA
This tutorial will teach you how to:
- perform a periodic energy decomposition analysis (PEDA) for extended systems with the BAND-GUI
- where to look for the PEDA results
Step 1: Start ADFinput
Start ADFinput in a clean directory. (according to Step 1 of the Getting Started with BAND)
Step 2: Set up the system - CO@MgO(sqrt(2)xsqrt(2))
You can copy-paste the following information into the GUI directly.
Mg       0.59538358       0.59538226       0.20750000
Mg       2.08384335      -0.89307752      -1.89750000
Mg      -2.38153597       0.59538226       0.20750000
Mg      -0.89307620      -0.89307752      -1.89750000
O        2.08384335      -0.89307752       0.20750000
O       -0.89307620      -0.89307752       0.20750000
O        0.59538358       0.59538226      -1.89750000
O       -2.38153597       0.59538226      -1.89750000
O        0.59538553       0.59539200       3.95250000
C        0.59538493       0.59538903       2.80750000
VEC1     2.97691955      -2.97691955       0.00000000
VEC2     2.97691955       2.97691955       0.00000000

Step 3: Running the PEDA calculation
Step 3a: Setting up the fragments
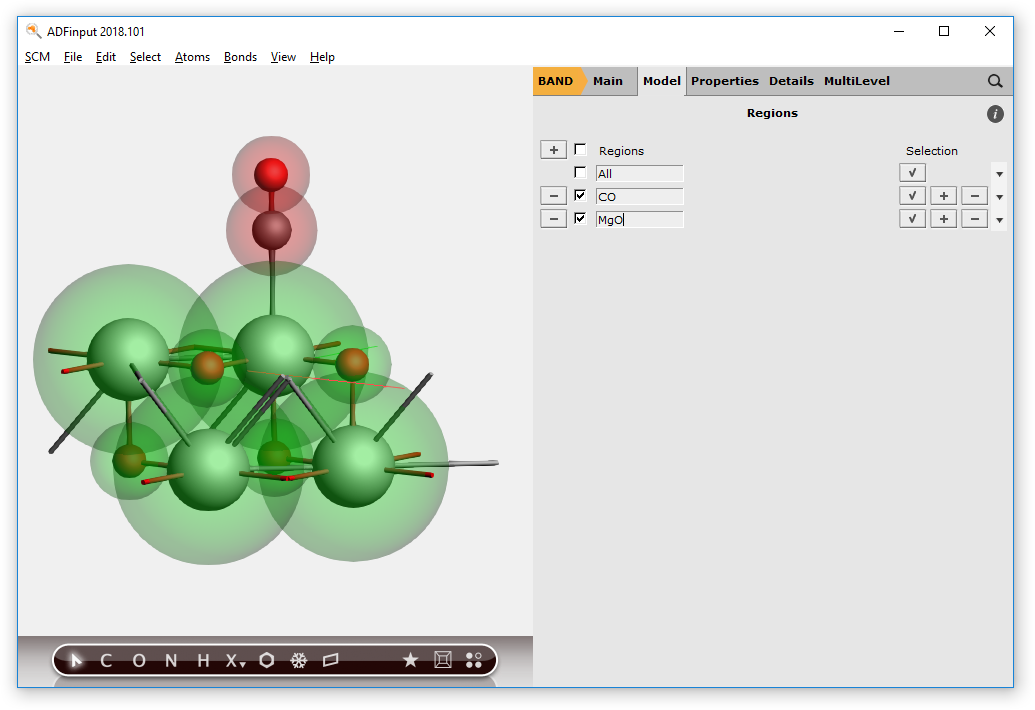
To run the PEDA for the adsorption of CO on MgO, you have to define the fragments. Therefore switch to Regions menu.
- Panel bar Model → Regions
- Select the CO fragment and add a new region by clicking on the ‘+’ button (or Ctrl+G).
- Deselect the currently selected atoms by clicking in an empty space of the molecule drawing area
- Select the MgO fragment and add a new region by clicking on the ‘+’ button (or Ctrl+G).
- You may want to rename “Region_1” to CO and “Region_2” to MgO. (optional)
Step 3b: Details for the calculation
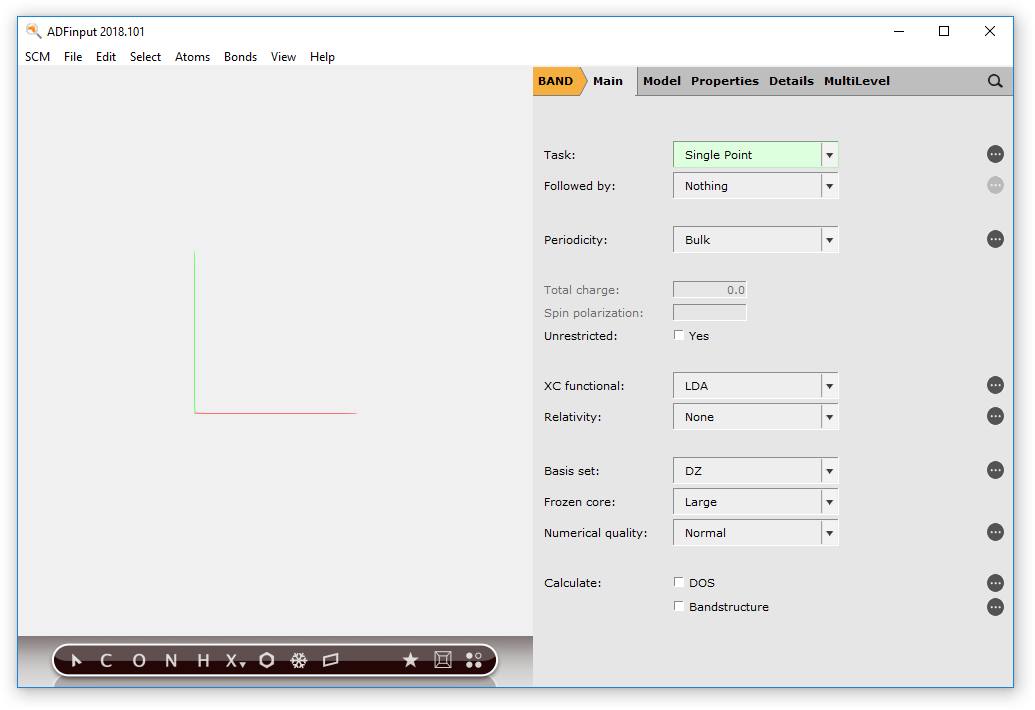
Go to the Main menu,
- Panel bar Main
and change the calculation setup (XC functional, basis set, frozen core and numerical quality) according to the following picture.

Step 3c: Enabling the PEDA
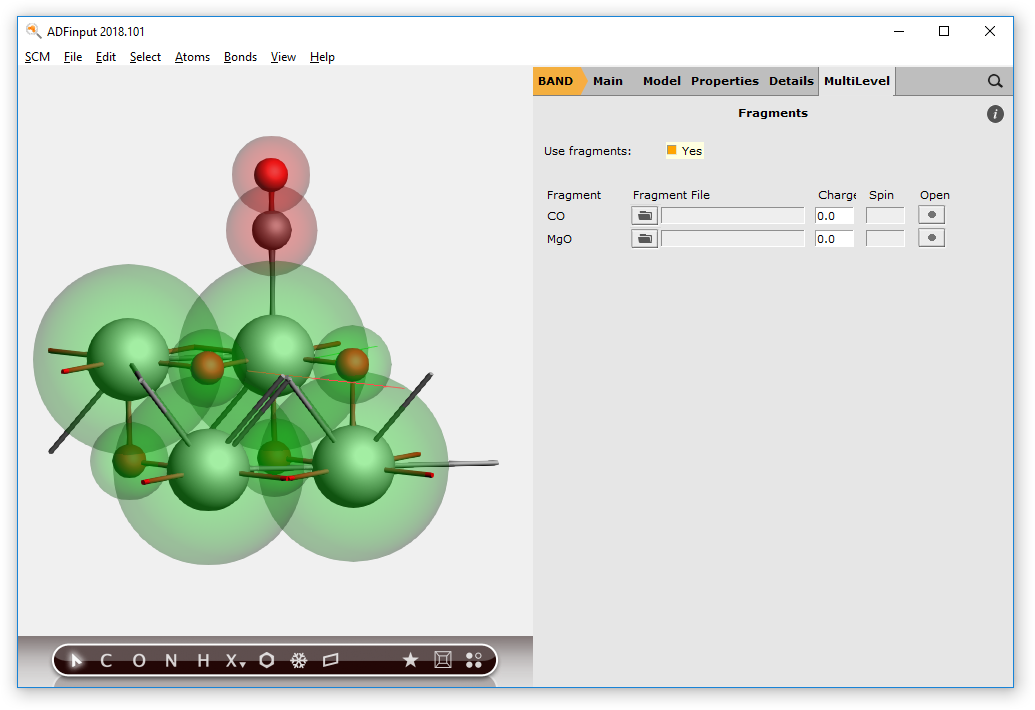
Go to the Fragments menu,
- Panel bar MultiLevel → Fragments
and check the “Use fragments” box. This will trigger the PEDA.
Step 3d: Save and run the calculation
Now you can save and run the calculation.
- File → Save, give it a name and press Save.File → Run
Step 4: Checking the results
After the calculations of the fragments and the PEDA finished you can look for the PEDA results. Therefore, open the “Output” using the SCM dropdown menu.
- SCM → Output
You can jump to the ‘PEDA Energy Terms’ via the corresponding button in the ‘Properties’ drop-down menu.
- Properties → PEDA Energy Terms
Reference results:

In addition to these energy terms the summed preparation energies of the fragments and the (negative) bond dissociation energy are usually given. Therefore you have to calculate the energy difference between the electronically and structurally relaxed fragments (which can be accessed by a geometry optimization of the separated fragments) and the promoted fragments (which are already calculated and used for the PEDA). Adding this energy difference, which is equal to the preparation energy, to the interaction energy will give you the negative bond dissociation energy.